

Why isn’t my homemade yogurt thick? If you’ve asked yourself this question, don’t assume your batch has failed. In most cases, thin homemade yogurt results from one of four specific, fixable issues rather than the recipe itself.
Many home yogurt makers notice the same pattern. The first few batches turn out thick and creamy, almost like Greek yogurt from the supermarket. Then, a few weeks later, a batch comes out looking more like warm, tangy milk. You use the same brand of milk, the same jar, and the same fermentation spot, yet the texture changes unexpectedly.
Fortunately, there’s usually a simple explanation. Identify the underlying cause before making adjustments, and you can often solve the problem quickly. This guide explains why your homemade yogurt isn’t thick, how to identify the four most common causes, and the practical steps you can take to produce thick, creamy yogurt every time.
The Milk Doesn’t Have Enough Protein or Fat to Work With
Yogurt gets its thickness almost entirely from casein, the main milk protein, clumping together as the milk acidifies during fermentation. Fat plays a supporting role too, helping that protein network hold its shape instead of collapsing into a loose curd.
Skim milk and low-fat milk simply don’t carry enough of either to support a firm set. This is often an accidental substitution. Someone finds a yogurt recipe written around whole milk, decides to use 1% or skim to cut calories, and ends up confused when the texture doesn’t match what the recipe promised. It’s not a fermentation problem. It’s a missing-ingredient problem.
The fix is straightforward. Stirring a few tablespoons of full-fat powdered milk into the base milk before heating raises the protein content without noticeably changing the flavor. Home yogurt makers who batch this regularly often keep a container of milk powder on hand specifically for this reason. Switching from skim to whole milk outright works too, though the difference is smaller than most people expect if the powdered milk trick is already in use.w
How Does the Type of Milk Affect Yogurt Thickness?
It’s worth noting that not all milk behaves the same way even at the same fat percentage. Goat’s milk, for instance, has a different casein structure than cow’s milk and tends to produce a naturally softer curd, even with a full-fat base. That’s not a defect, it’s just how the protein sets, and people switching from cow’s milk to goat’s milk for the first time often mistake this for a failed batch when it’s really just a different, thinner-by-nature result. Plant-based milks are a separate category entirely. Oat, soy, and almond milk contain little to no casein, so traditional yogurt cultures won’t produce a comparable set at all without a commercial stabilizer or thickener like tapioca starch or agar added specifically for that purpose. Anyone working with a non-dairy base should expect to follow a recipe built around that milk rather than adapting a dairy recipe and hoping for similar results.
For people using cow’s milk who still want extra insurance beyond powdered milk, a small amount of unflavored gelatin, dissolved in a little warm water and stirred in before fermentation, can also help stabilize the set. This isn’t necessary for most batches once the protein and fat content is correct, but it’s a useful backup for anyone using milk that runs a bit thinner than usual, such as certain ultra-pasteurized cartons.
Fermentation Was Cut Short
Most yogurt recipes list a fermentation window of 6 to 12 hours, and that range exists because several variables shift it. A cooler kitchen slows the bacteria down. An older starter culture ferments more sluggishly. Lower-fat milk needs slightly more time for the protein network to fully set. All three push toward the longer end of that window, not the shorter one.
Pulling yogurt at the 6-hour mark because the surface looks set is one of the most common reasons people end up with something more like a drinkable yogurt than a spoonable one. The top layer can appear firm while the middle and bottom of the container are still loose, particularly in a larger batch where the center takes longer to reach the same temperature as the edges.
Extending fermentation by another 2 to 4 hours, without changing anything else, resolves this in most cases. It’s tempting to assume something more complicated is going on, but time is very often the entire answer.
Many home yogurt makers skip another important step: heating the milk to around 180°F (82°C) before cooling it to the correct culturing temperature. Missing this step often compounds fermentation problems and makes it more difficult to produce thick, creamy yogurt. This step denatures whey proteins in a way that actually improves the final set, and it’s a separate action from simply warming the milk to the culturing temperature of around 110°F. Skipping the high-heat step entirely and going straight to the lower culturing temperature is one of the quieter reasons a batch can come out thinner than expected, even when the incubation time was long enough. It’s easy to miss because both steps involve a stovetop and a thermometer, and on a rushed morning it’s tempting to skip straight to the second one.
The Starter Culture Has Weakened
This is the cause people overlook the most, mainly because nothing about the process looks different. Same jar, same milk, same incubation setup, yet the result quietly gets worse over time.
Every time you use a spoonful of yogurt as the starter for a new batch, you pass its live bacterial cultures on to the next generation of homemade yogurt.After roughly 5 to 7 of these passages, that culture’s fermenting activity starts to decline. Fermentation slows down, the tang becomes milder, and the set becomes noticeably looser, even though the process hasn’t changed at all.
People who make yogurt weekly using the same rotating starter for months at a stretch are the most likely to run into this. Keep your starter culture healthy by refreshing it with a fresh commercial starter every one to two months. You can also maintain two separate starter cultures and rotate between them to keep the bacterial cultures healthy and maintain consistent yogurt quality.
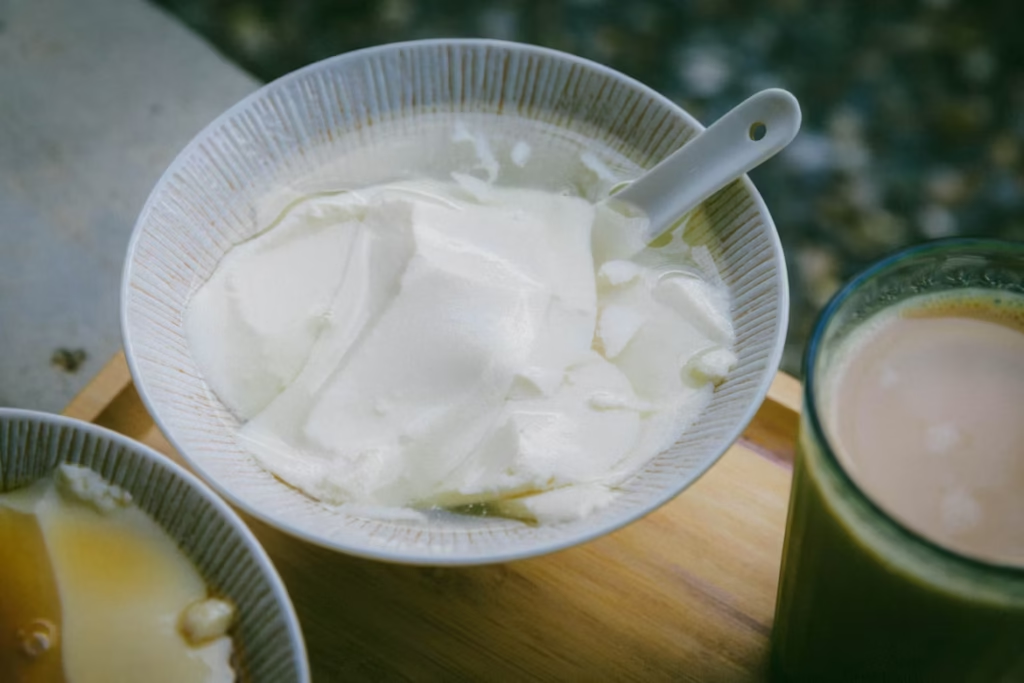
Even before repeated reuse affects a starter culture, contamination or dilution during preparation can reduce its effectiveness and lead to poor fermentation. Using a utensil that touched raw food, or scooping starter with a spoon that still has a trace of dish soap on it, can introduce something that competes with or actively slows down the yogurt bacteria. It doesn’t always ruin a batch outright, but it can quietly reduce how efficiently the culture ferments the milk. Keeping a dedicated, clean spoon just for starter culture, and rinsing jars thoroughly with hot water rather than relying on a quick soap rinse, removes this variable entirely.
No Straining, or Straining Was Skipped Entirely
This is probably the single biggest misconception in home yogurt making. A lot of people assume the thick, dense texture of store-bought Greek yogurt comes purely from the fermentation process. It doesn’t. Most of that thickness comes from a straining step performed after fermentation, one that removes a significant amount of liquid whey and has almost nothing to do with how the bacteria behaved.
Your yogurt may ferment perfectly and develop a normal tangy flavour, yet still look thin after incubation if you haven’t strained it. Straining removes excess whey, resulting in a thicker, creamier texture. Many new yogurt makers mistake the thinner consistency for a failed batch and throw away perfectly good yogurt before completing this final step.
Straining through cheesecloth or a fine mesh sieve for 1 to 2 hours tightens the texture noticeably. Straining overnight in the refrigerator gets close to standard Greek yogurt consistency. Strain the yogurt for longer if you prefer an even thicker texture. Extended straining removes more whey and transforms the yogurt into labneh, a rich, creamy, spreadable dairy product.
What Is the Best Way to Strain Homemade Yogurt?
The equipment used for straining matters more than people expect. Use a fine-mesh strainer rather than a standard metal colander. The large holes in a colander allow too much yogurt to drain away with the whey, reducing your yield instead of producing thicker yogurt. A tightly woven cheesecloth, a nut milk bag, or a purpose-made yogurt strainer with a fine mesh basket all hold back the solids properly while still letting whey drain freely. Rest the strainer over a deep bowl so the draining whey collects below the yogurt. Keeping the yogurt out of the whey prevents reabsorption and helps produce a thicker, creamier texture. And it’s worth saving that strained whey rather than pouring it out. It has a mild tang and works well in place of some of the liquid in pancake batter, bread dough, or smoothies, which is a small way to avoid waste from a process that already involves discarding some volume.
| Cause | What It Looks Like | How to Fix It |
|---|---|---|
| Low-fat or skim milk | Consistently thin, no matter how long it ferments | Switch to whole milk, or add powdered milk |
| Short fermentation time | Loose or runny, mild tang, sets on top but not underneath | Extend fermentation by 2-4 hours |
| Weak starter culture | Slow set, bland flavor, gets worse with each new batch | Refresh with a new starter every 1-2 months |
| No straining performed | Normal flavor, still thin | Strain 1-8+ hours depending on desired thickness |
Getting the Fermentation Temperature Right
The bacterial strains used in most yogurt starters, typically Lactobacillus and Streptococcus species, do their best work in a fairly narrow range: around 108 to 112°F, or 42 to 44°C. Don’t let the temperature rise above the recommended range. Excess heat can damage or kill the beneficial bacteria, preventing the yogurt from fermenting properly. Drop too far below it and fermentation slows down enough that the timing listed in any recipe stops being accurate.
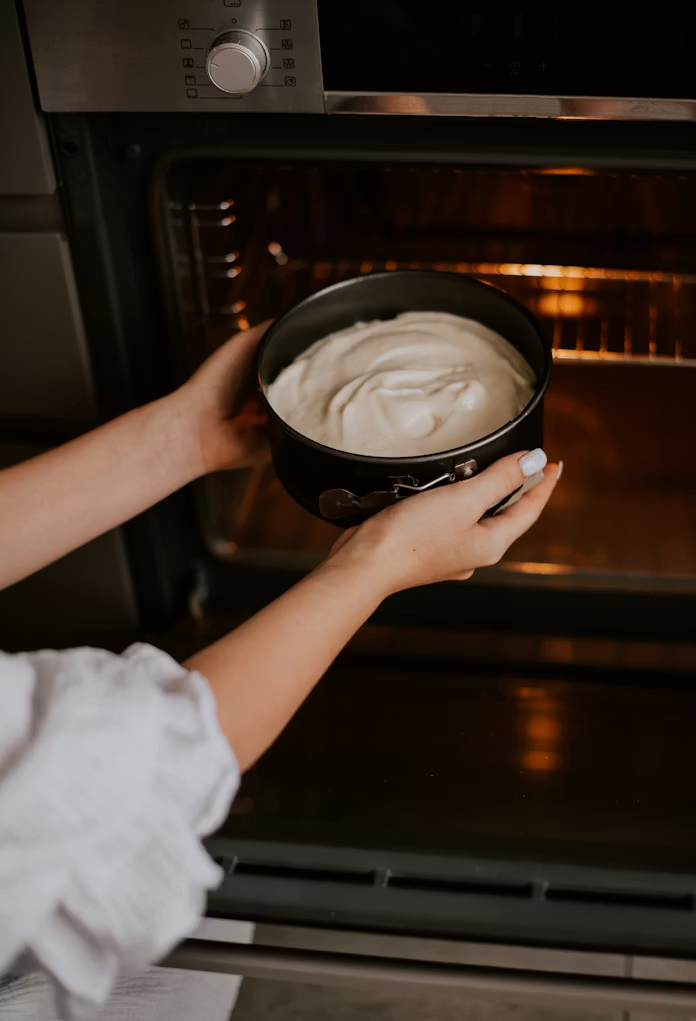
This is part of why dedicated yogurt makers tend to produce more consistent results than improvised setups like an oven with the light left on or a wrapped-up pot tucked into a warm corner of the kitchen. Those methods can work fine, but they’re more vulnerable to drafts, seasonal temperature swings, and uneven heat distribution. For anyone who has had inconsistent results using a makeshift setup, dtdfhomeandkitchen’s roundup of tested yogurt makers is worth a look, along with the site’s broader yogurt maker buying guide for anyone still deciding whether a dedicated appliance is worth it.
It’s also worth keeping expectations grounded. The goal with homemade yogurt is consistency, not perfection. Even people who’ve been making it for years occasionally get an off batch. That’s a normal part of working with a living culture, not a sign something is fundamentally wrong with the process.
Storage Habits That Quietly Undo a Good Batch
Getting the texture right during fermentation and straining is only half the equation. What happens after that matters too. Store your yogurt in an airtight container with a secure lid. A well-sealed container helps prevent it from absorbing moisture and odours from the fridge, while limiting unnecessary opening and stirring helps maintain a smooth, creamy texture.
A tight-sealing container helps preserve both texture and flavor considerably longer. This connects to a broader point dtdfhomeandkitchen has covered before about which foods should never share storage space, since strong-smelling items stored too close to dairy can transfer odors surprisingly fast.
Stirring less than expected also helps. Every stir breaks down some of the protein network that took hours to build during fermentation and straining. You’ll usually find that yogurt is thickest when you first open the container. Repeated stirring and scooping gradually loosen its texture, so the same batch may seem thinner after several days in the fridge.
A Misconception Worth Correcting Directly
A lot of first-time yogurt makers assume that thin yogurt means the fermentation failed, or that the starter culture was dead on arrival. In the overwhelming majority of cases, that’s not what happened. If the yogurt has a normal tangy, slightly sour smell, fermentation worked exactly as intended. Thickness is a separate variable entirely, governed mainly by milk composition and whether straining happened, not by whether the bacteria did their job.
Many people throw away perfectly good yogurt because its appearance doesn’t match their expectations. In many cases, the yogurt is still safe to eat and has fermented normally. Tasting a thin batch before discarding it, and giving it a few hours in a strainer, usually reveals that nothing actually went wrong.
Mistakes like this tend to repeat across a lot of home cooking projects, not just yogurt. dtdfhomeandkitchen has broken down a number of these recurring issues in its guide to common kitchen mistakes, and several of the same troubleshooting instincts apply here directly.
A Quick Troubleshooting Checklist
Before assuming a batch is a total loss, it helps to run through these in order:
- Does it smell normal, tangy and slightly sour, with no sharp or ammonia-like odor? If yes, fermentation worked.
- Was the milk whole milk, or was it skim or low-fat? If low-fat, that alone explains a lot of the thinness.
- Did it ferment for the full window, closer to 10-12 hours rather than 6?If not, allow the yogurt to ferment for longer before checking it again.
- Have you been using the same starter culture for months without refreshing it with a fresh commercial starter? If so, that’s a likely factor.
- Has it been strained at all? If not, that’s very often the entire missing step.
Running through this list before writing off a batch saves a lot of unnecessary waste, and it’s usually faster than starting over from scratch.
Frequently Ask Questions
Is thin homemade yogurt still safe to eat?
Yes, as long as it smells normal and shows no mold or unusual discoloration. A thin texture is a consistency issue, not a safety issue. The actual warning signs are strange odors, fuzzy or powdery spots, and a sharp ammonia-like smell, none of which are related to how thick or thin the batch turned out.
Can a thin batch be fixed after the fact, or does it need to be remade?
It can almost always be fixed. Straining it through cheesecloth or a fine sieve for a few hours will noticeably thicken it. There’s rarely a need to start over from scratch.
Does the brand of milk actually matter?
More than most people expect. Ultra-pasteurized milk can behave differently during fermentation compared to standard pasteurized milk, and some brands add stabilizers that interfere with a clean, firm set.
How long can yogurt safely stay in the incubator before it becomes a problem?
Beyond about 14 to 16 hours, yogurt tends to over-ferment, becoming increasingly sour and prone to separating on its own. There’s a clear point of diminishing returns well before that mark.
Is a dedicated yogurt maker actually necessary, or can an oven work just as well?
An oven with just the indicator light on, or a stockpot wrapped in towels and set somewhere warm, can maintain the right temperature range just fine. A dedicated yogurt maker simply holds that range more evenly, which matters most for anyone who’s had inconsistent results with an improvised setup.
Can goat’s milk or plant-based milk be used to make thick yogurt?
Goat’s milk can, though it naturally sets softer than cow’s milk regardless of technique, so comparing the two side by side isn’t a fair test of whether something went wrong. Plant-based milks like oat or soy need a recipe built specifically around them, usually with an added stabilizer, since they don’t contain the casein that dairy yogurt relies on for its structure.
Why does yogurt sometimes separate into curds and watery liquid on its own in the fridge?
It’s normal for a small amount of whey to separate on top of finished, unstrained yogurt. Stir it back in for a creamier consistency or pour it off if you prefer a thicker texture. Heavier separation, where the yogurt looks broken or grainy rather than just weeping a bit of liquid, usually points to over-fermentation or a temperature spike at some point during incubation.
For anyone looking to take home fermentation further, dtdfhomeandkitchen’s guide to kitchen tools people regret not buying earlier covers a few more practical additions worth considering.